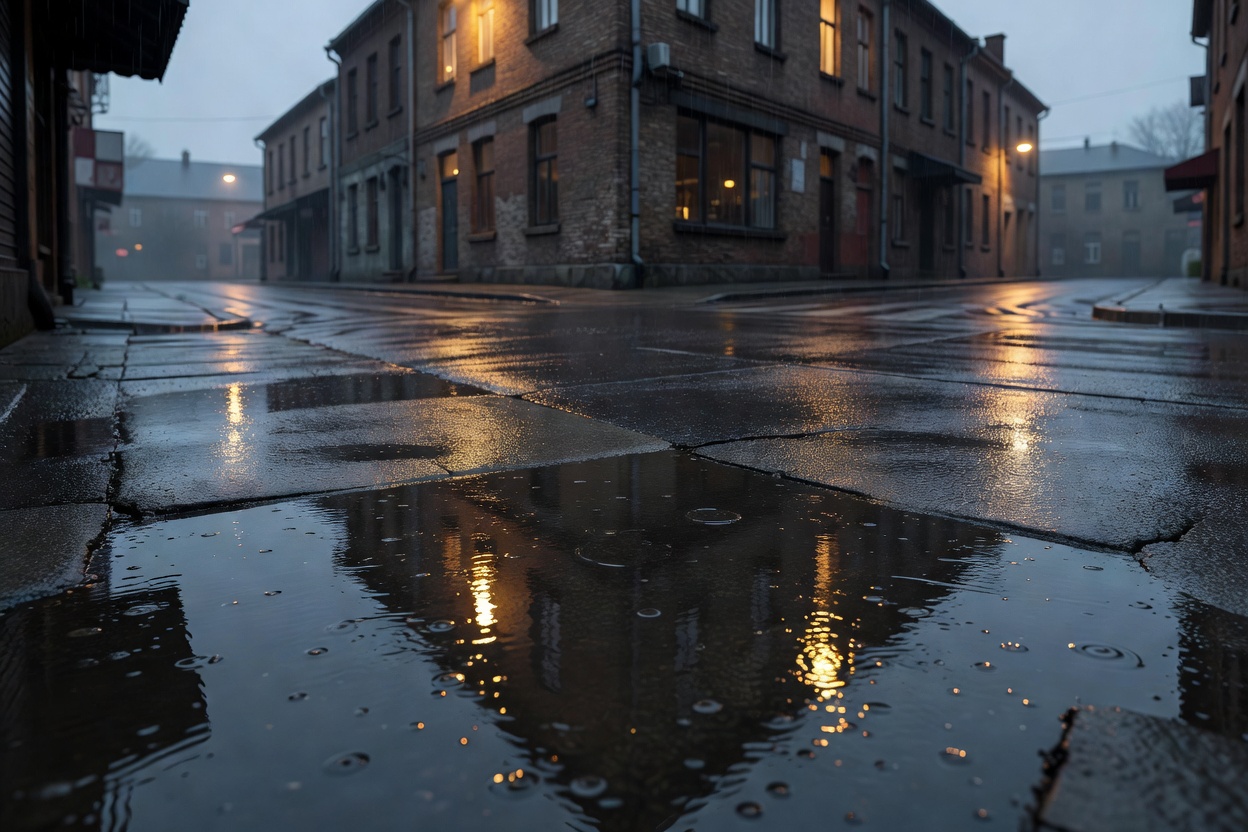
A street corner photographed from standing eye level is familiar because that is how many of us pass through it. Lower the camera toward waist height and the foreground begins to expand. Raise it from a safe public vantage point and the same street becomes an arrangement of paths and surfaces. The subject has not changed; your relationship to it has.
Camera angle is more than a dramatic tilt. It combines height, horizontal position, distance and the direction the camera faces. Change one variable at a time while learning. Otherwise, you may like the result without understanding which decision produced it.
Begin with a neutral reference
Make a frame at the subject’s eye level, with the camera reasonably level. This is not emotionally neutral in every context, but it gives you a useful baseline. Notice what appears behind the head, how much floor is visible and whether the viewer feels close enough to participate.
For a seated person, your standing eye level may already look downward. Sit or crouch safely to meet their gaze. The change can make the photograph feel less like surveillance and more like an encounter, though expression and distance remain important.
Lower the camera with a reason
A low viewpoint often gives a subject more sky or ceiling behind them. It may make their silhouette clearer or give an ordinary object a stronger presence. It can also exaggerate nearby hands, shoes or furniture. If those elements are not part of the story, step back or raise the camera slightly.
Do not treat “low means powerful” as a universal translation. A low view of someone alone beneath a vast building can make them seem small. In Orson Welles’s Citizen Kane, low viewpoints participate in a larger system of architecture, performance and lighting. The angle works because the rest of the image supports it.
Look down without losing the person
A higher viewpoint can reveal the contents of a table, the shape of a room or the separation between people. It can suggest vulnerability, distance or simply useful clarity. Keep checking whether a face still matters once the floor begins to occupy the frame.
Use only stable, permitted positions. A staircase landing or an accessible balcony may offer enough elevation. Do not climb furniture, lean over barriers or enter traffic for an angle. A modest change in height often provides the visual difference you need.
An unusual angle earns its place when it reveals something, not when it announces the photographer.
Separate perspective from focal length
Perspective depends on the camera’s position relative to the scene. If you stay in the same place and change focal length, you change the field of view, not the underlying perspective. When photographers describe a long lens as compressing space, they are often also describing the effect of stepping farther away to maintain the subject’s size.
Try a close portrait with a wider lens, then step back and use a longer focal length to keep the face a similar size. Nearby features will appear more prominent in the close version. The more distant version will show different size relationships between the face and the background. Neither is automatically more truthful; each emphasizes something different.
Use tilt sparingly and deliberately
A tilted horizon can introduce imbalance, but it can also make an otherwise quiet photograph feel artificially urgent. First try changing the relationship between the subject and the background. Tilt only if instability is part of the intended experience.
Yasujirō Ozu’s films are useful references for studying low, composed viewpoints without constant visual aggression. Vivian Maier’s photographs invite attention to encounters at street level. Gordon Parks offers rich examples of viewpoint serving dignity, context and social meaning. Study the purpose of the position rather than reducing any artist to one technique.
Five positions, one subject
- Choose a cooperative person or a stationary object in a safe place.
- Make an eye-level reference frame.
- Move lower, then higher, keeping the subject roughly the same size.
- Move closer and farther away, adjusting the framing deliberately.
- Choose the view that best expresses your intended relationship.
Write one sentence for each image: “From here, the viewer feels…” Use ordinary emotional language before technical terminology.
Once your position is intentional, editing becomes easier to judge. A grade should support that relationship, not disguise it. Continue with a restrained colour workflow that keeps the scene’s emotional logic intact.